Quick Start
Welcome to BetterBoilerplate! This guide will walk you through setting up your full-stack project step by step. What you’ll be setting up:- 🌐 Frontend - Next.js web application
- 🗄️ Backend - Express API server
- 📝 CMS - Content management system
- 🔐 Authentication - Google OAuth + email login
- 💳 Payments - Stripe integration
- 📧 Email - Resend service
- 🤖 AI - OpenRouter integration
- 🗃️ Database - PostgreSQL with Supabase
Expected setup time: 15-30 minutes depending on your familiarity with these services.
Prerequisites
Before you begin, make sure you have these installed:Step 1: Project Setup
1.1 Clone & Install
-
Clone the repository:
-
Navigate to the project:
-
Install dependencies:
1.2 Environment Files Setup
Create environment files from the provided examples:Step 2: Database Setup (Supabase)
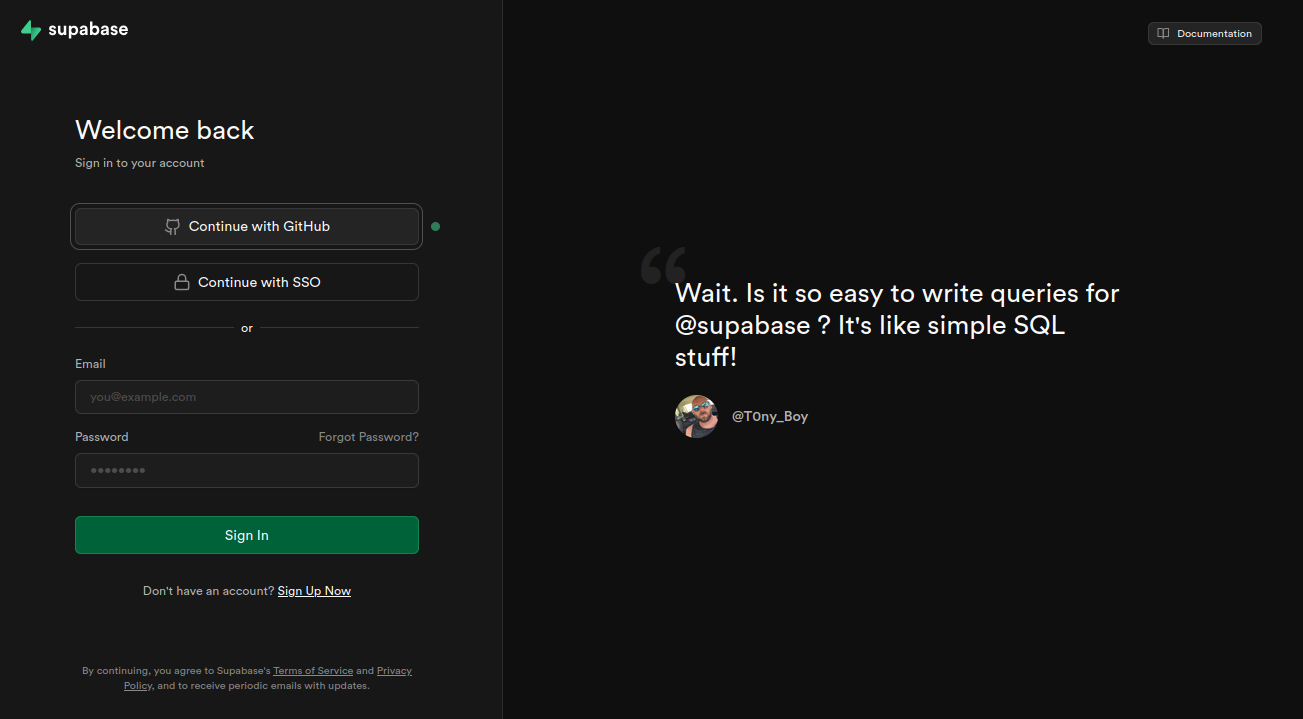
What is Supabase? It’s your PostgreSQL database hosting service.2.1 Create Main Database
-
Go to Supabase and sign up/login
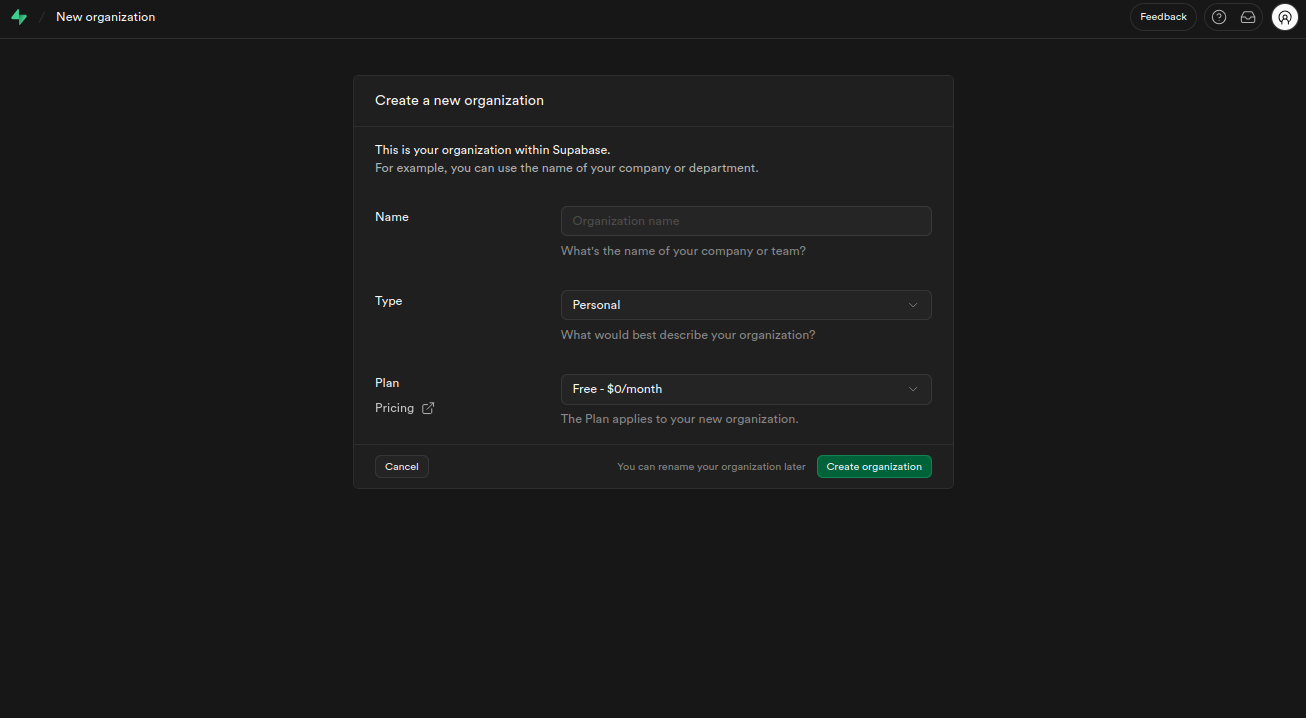
-
Create a new organization
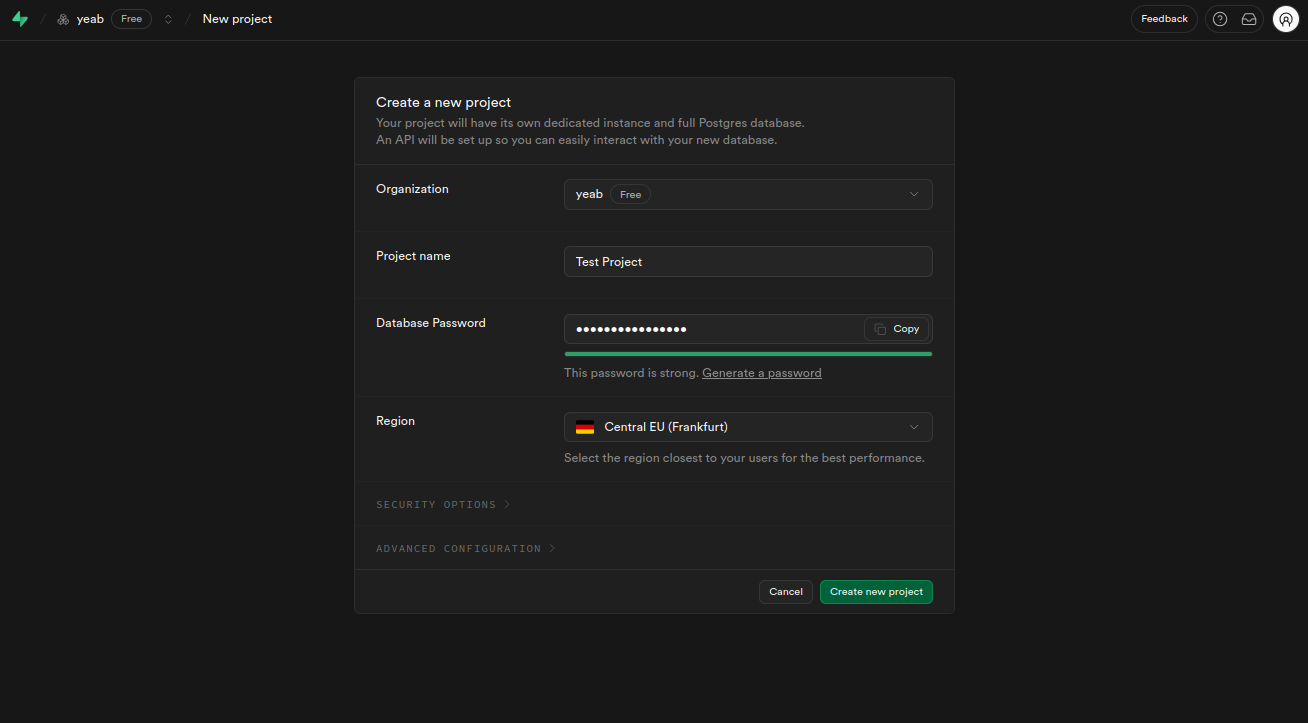
-
Create a new project
- Choose a name for your project
- Important: Save the database password - you’ll need it later
-
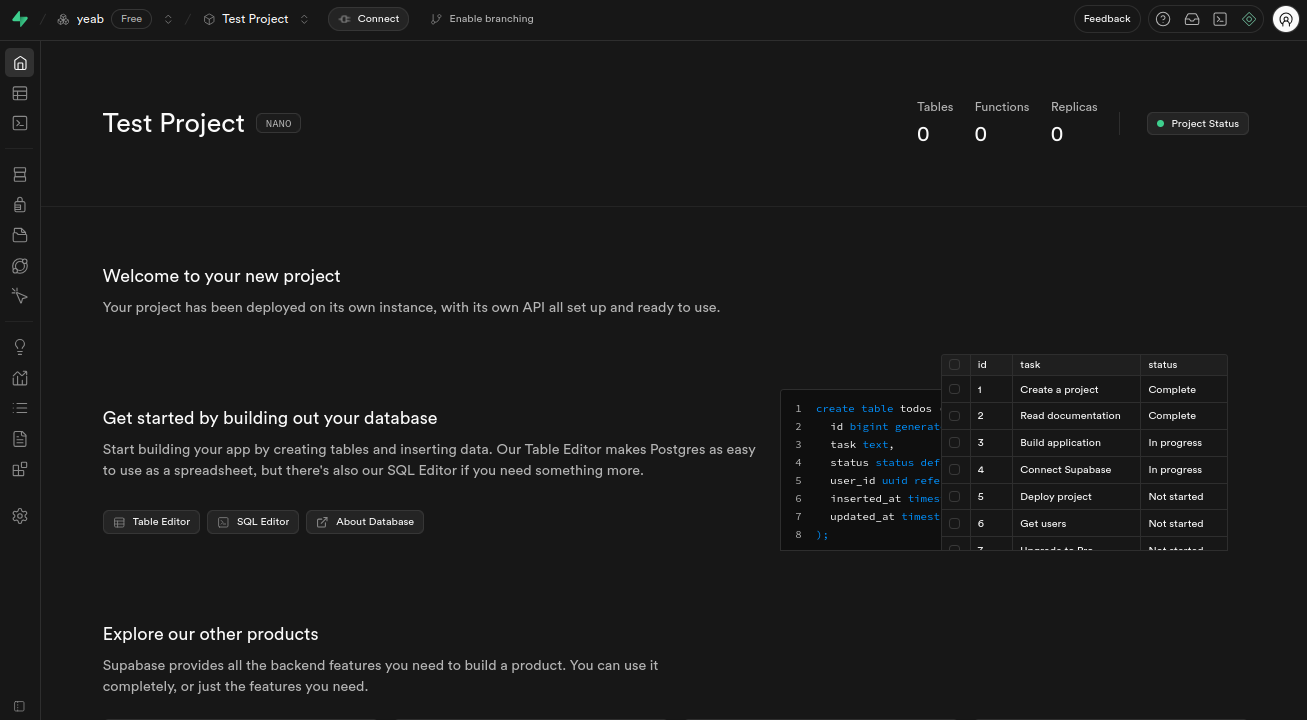
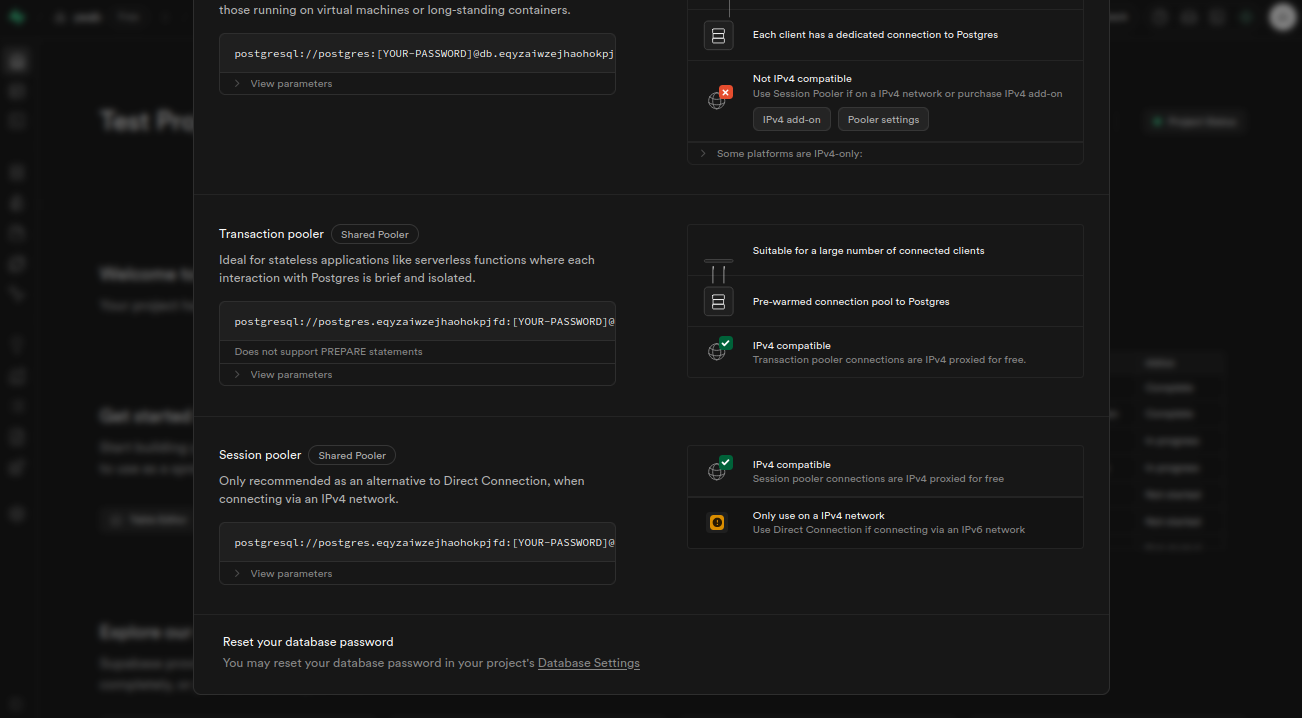
Get your database connection strings:
-
Click “Connect” in the top center of your dashboard
-
Copy both connection strings:
- Transaction pooler (for DATABASE_URL)
- Session pooler (for DIRECT_URL)
-
Click “Connect” in the top center of your dashboard
-
Add to
apps/server/.env:
2.2 Create CMS Database
Why a separate database? The CMS needs its own database to keep content separate from your main app data.- Create a second Supabase project following the same steps above
- Get the connection string (you only need one this time)
- Add to
apps/cms/.env:
Step 3: Authentication Setup
What is BetterAuth? It handles user login/signup, sessions, and OAuth integrations.3.1 Generate Authentication Secret
-
Generate a secure secret:
-
Add to
apps/server/.env:
3.2 Google OAuth Setup
Why Google OAuth? It allows users to sign in with their Google accounts.- Visit Google Cloud Console
- Create a new project or select an existing one
-
Enable Google+ API:
- Go to APIs & Services → Library
- Search for “Google+ API” and enable it
-
Set up OAuth credentials:
- Go to APIs & Services → Credentials
- Create OAuth 2.0 Client ID
- Set these values:
- Authorized JavaScript origins:
http://localhost:3000,http://localhost:3001 - Authorized redirect URIs:
http://localhost:3000/api/auth/callback/google
- Authorized JavaScript origins:
-
Watch this helpful video for detailed setup:
-
Add to
apps/server/.env:
Step 4: Email Service Setup (Resend)
What is Resend? It sends transactional emails like password resets and welcome emails.4.1 Create Resend Account
- Visit Resend and sign up
-
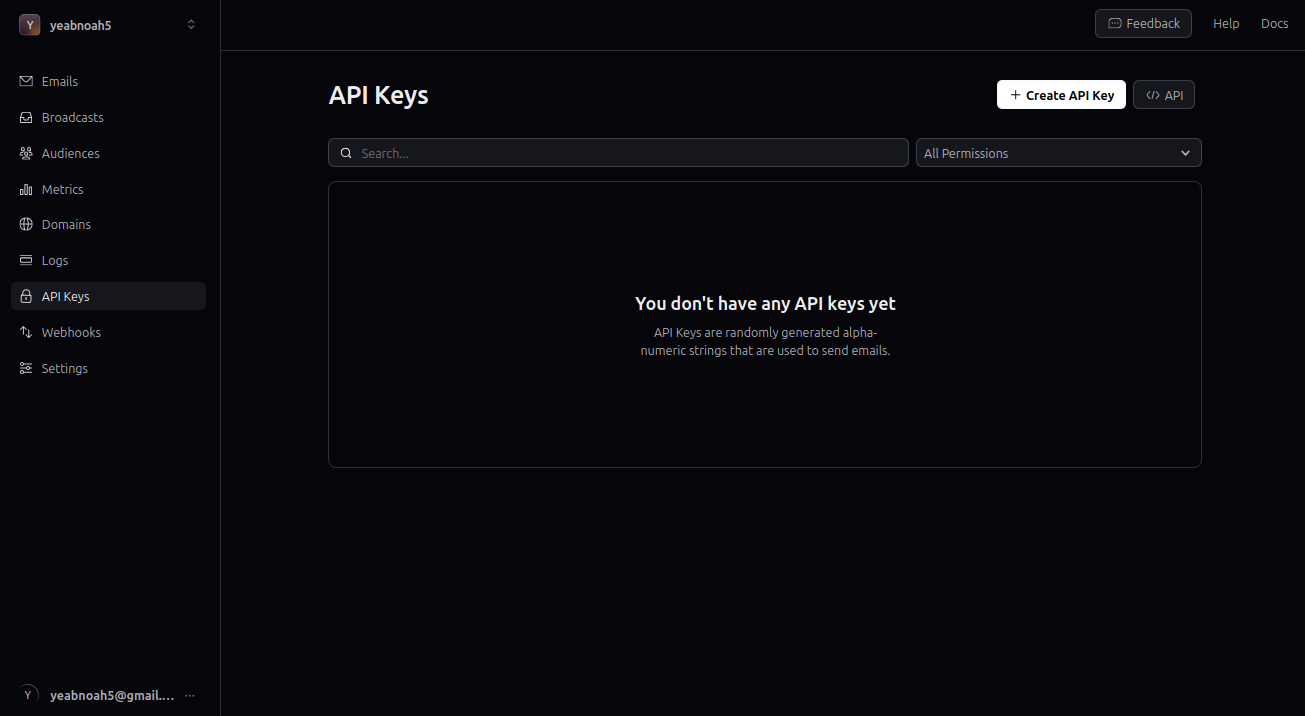
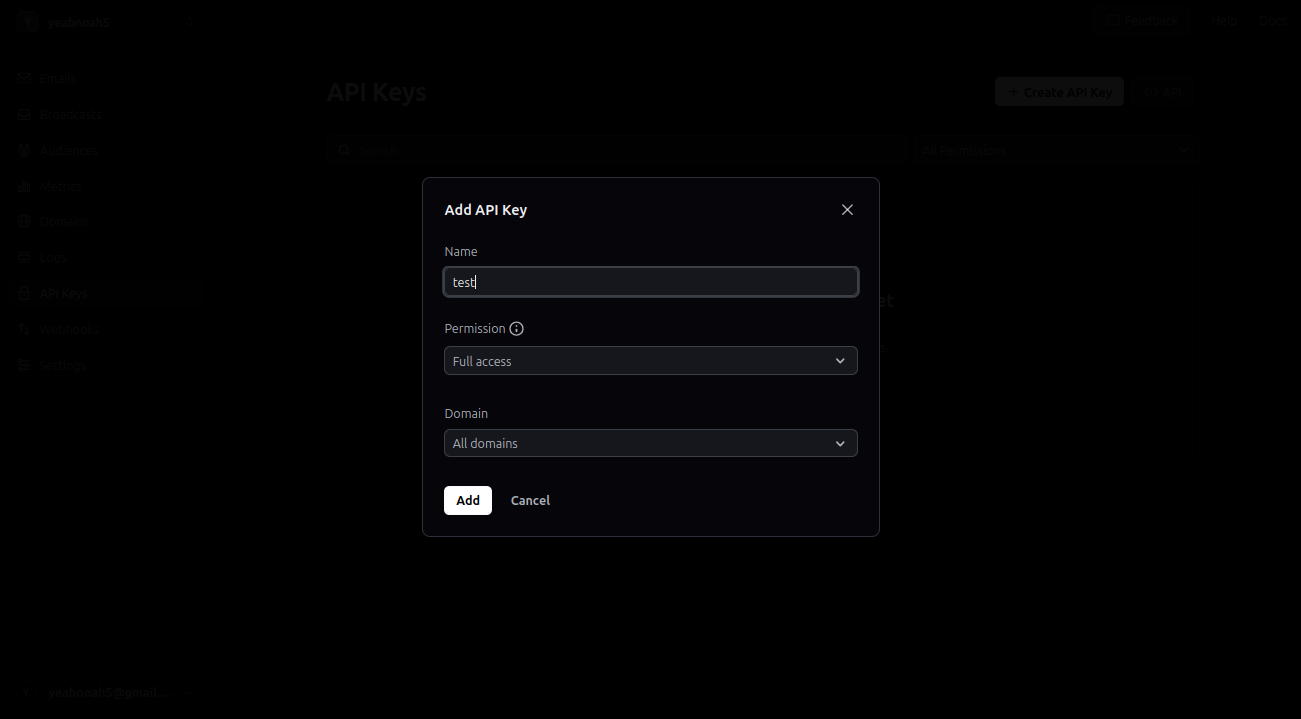
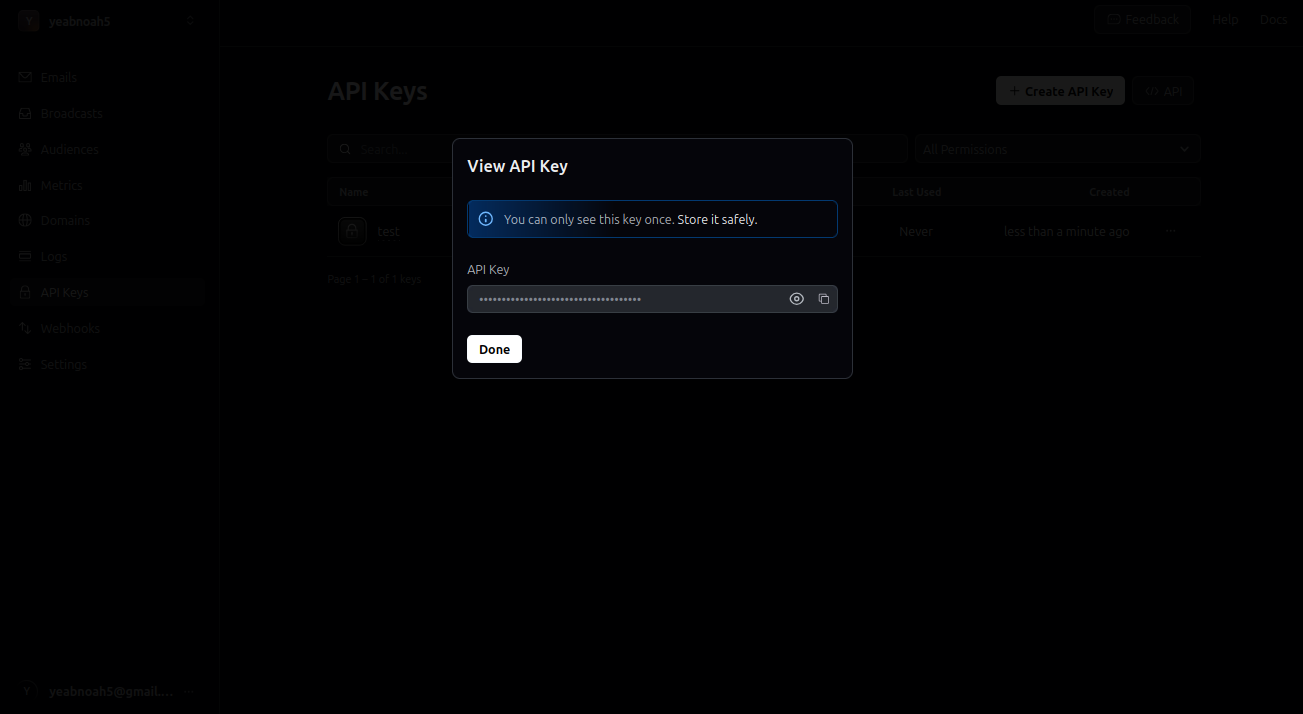
Create an API Key:
- Go to API Keys section
- Click “Create API Key”
- Copy the key (starts with
re_)
-
Add to
apps/server/.env:
Step 5: Payment Setup (Stripe)
What is Stripe? It handles all payment processing, subscriptions, and billing.5.1 Basic Stripe Setup
- Visit Stripe and login
-
Enable Test Mode (toggle in top right)
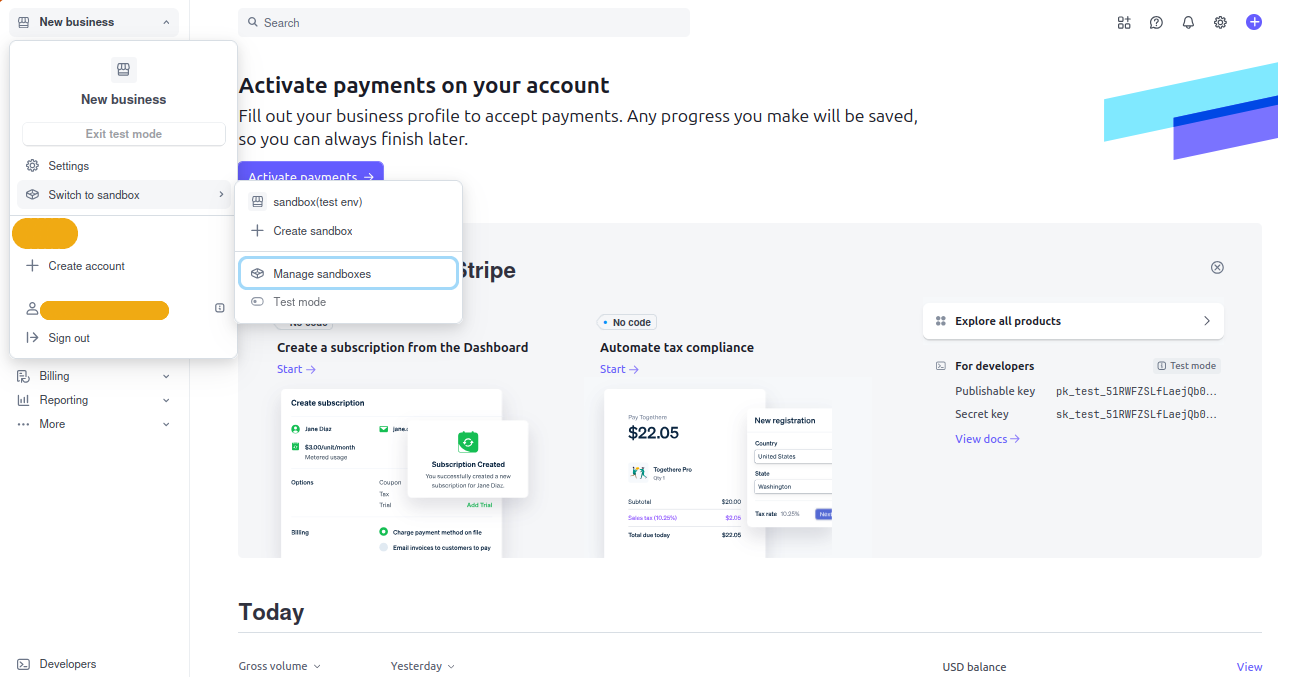
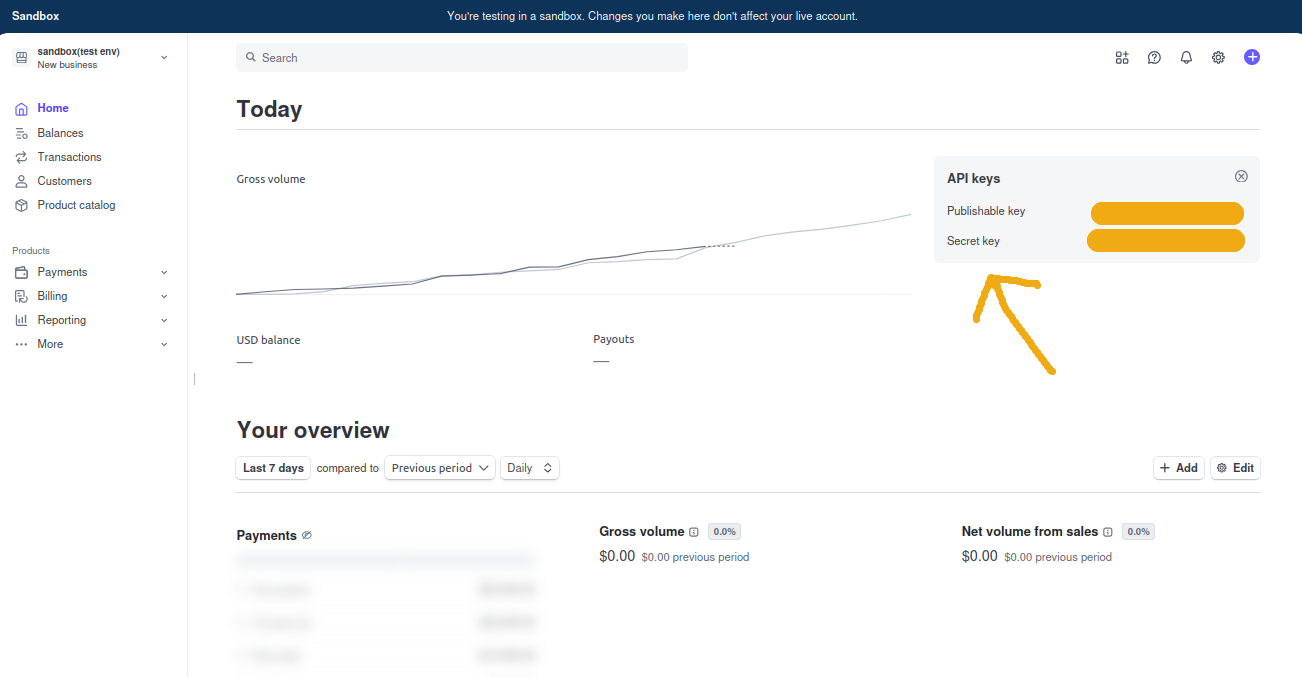
-
Get your Secret Key:
- Go to Developers → API Keys
- Copy the Secret Key (starts with
sk_test_)
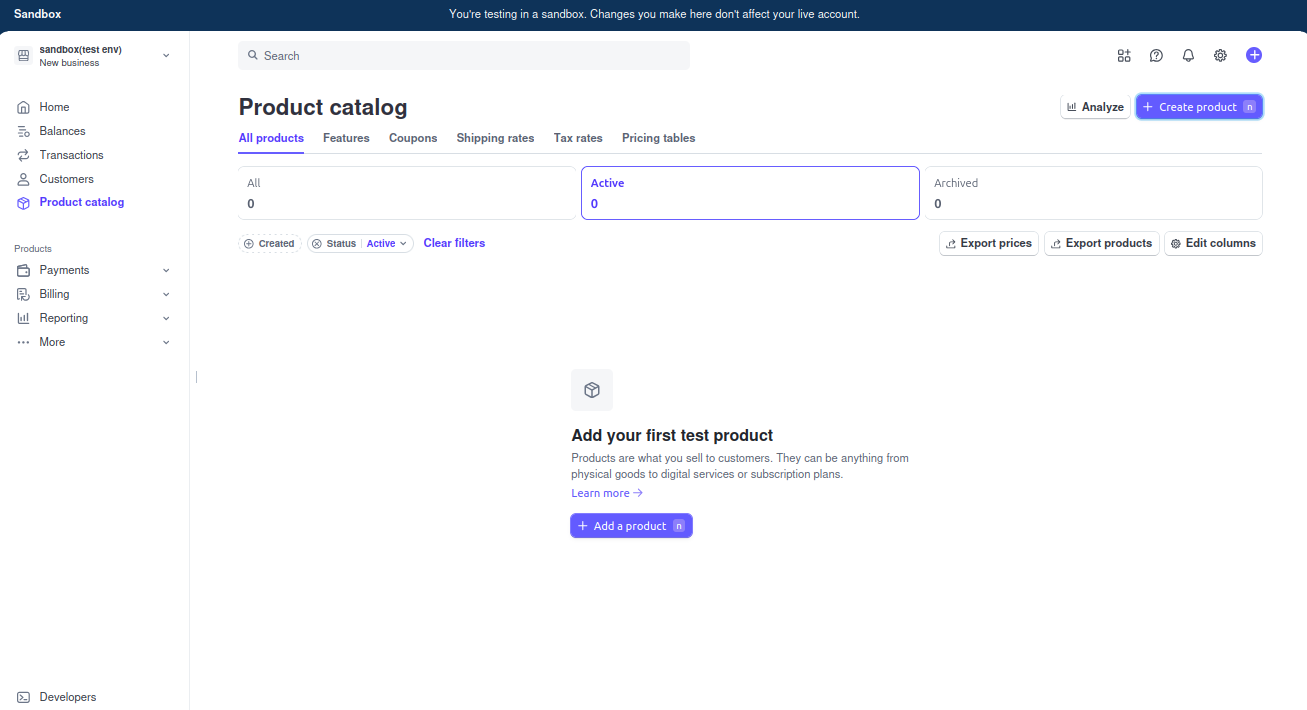
5.2 Create a Product
- Go to Products → Add Product
-
Set up your product details:
- Name (e.g., “Pro Subscription”)
- Price (e.g., $9.99/month)
- Currency (USD)
-
Copy the Price ID (starts with
price_) -
Add to
apps/server/.env:
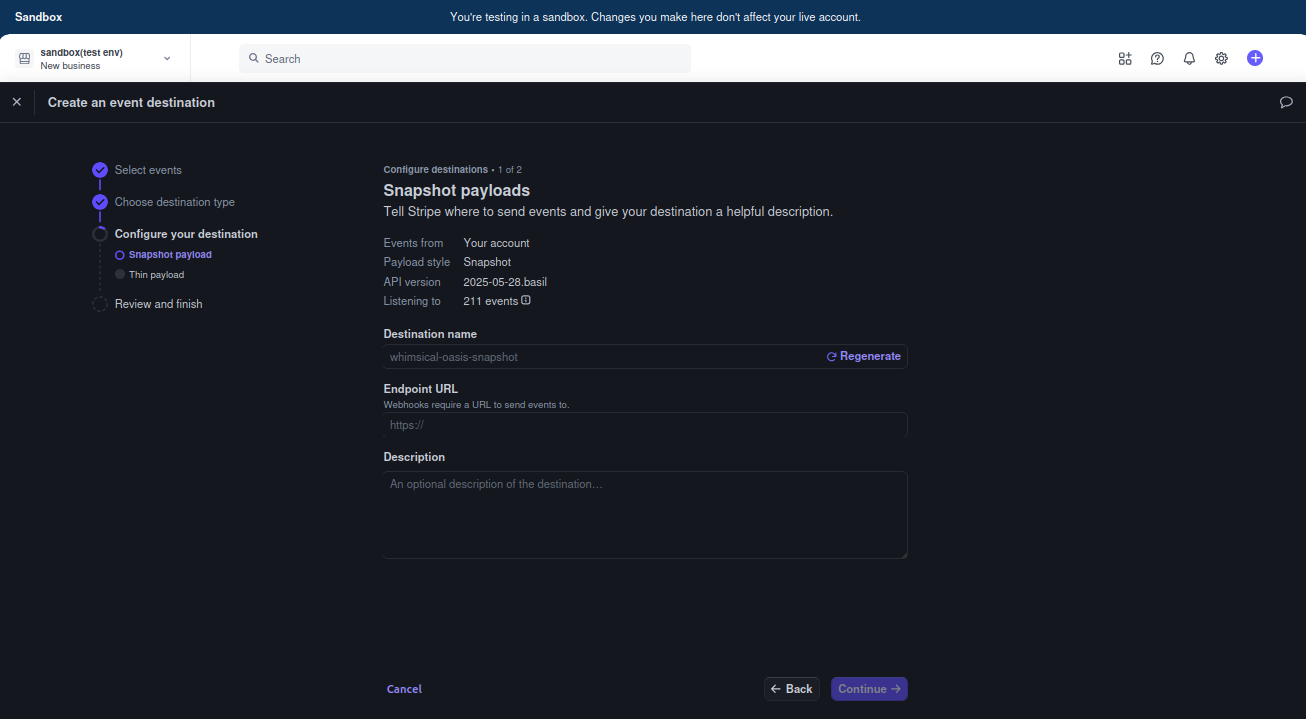
5.3 Webhook Setup (Optional but Recommended)
Why webhooks? They notify your app when payments succeed or fail.-
Install ngrok (for local development):
-
In Stripe Dashboard:
- Go to Developers → Webhooks → Add Endpoint
- Enter your ngrok URL:
https://your-ngrok-url.ngrok.io/api/webhooks/stripe - Select events or choose “Send all events”
-
Copy the Webhook Signing Secret and add to
apps/server/.env:
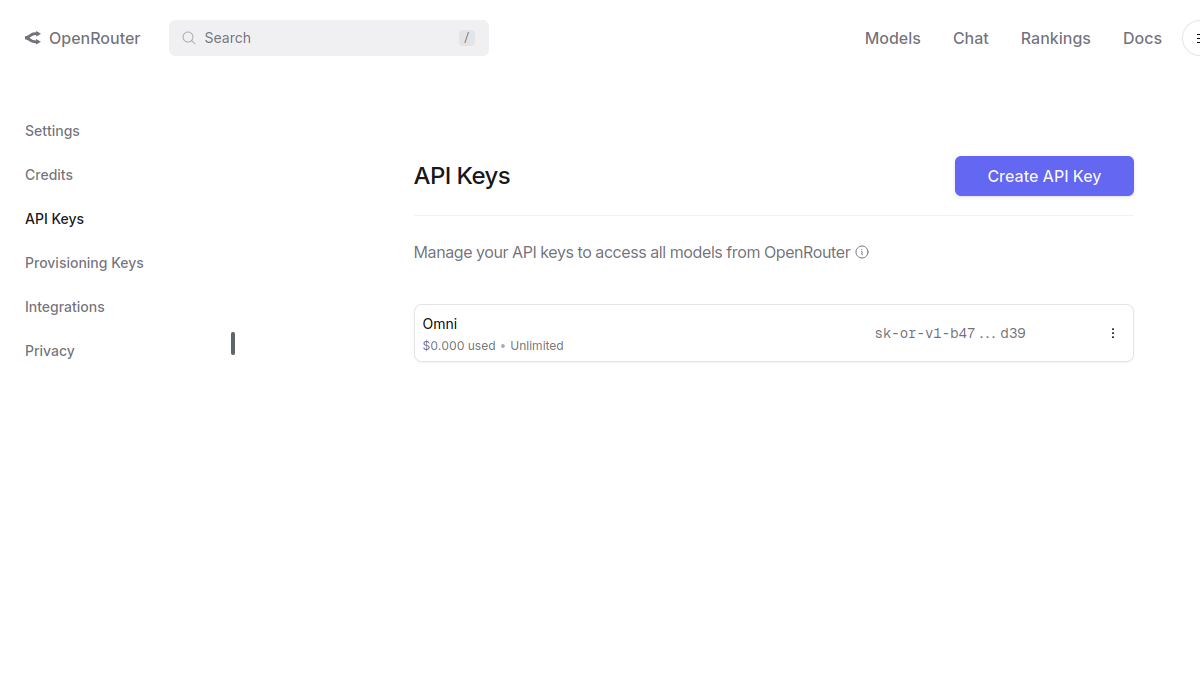
Step 6: AI Integration (OpenRouter)
What is OpenRouter? It provides access to multiple AI models through a single API.6.1 Get OpenRouter API Key
- Go to OpenRouter
- Create a new API key
- Copy the API key
- Add to
apps/server/.env:
Step 7: CMS Secret Generation
What is the CMS? It’s your content management system for blog posts, pages, etc.7.1 Generate CMS Secret
-
Generate a secure secret:
-
Add to
apps/cms/.env:
Step 8: Frontend Configuration
Configure the frontend app to connect to your backend services.8.1 Frontend Environment Variables
Add toapps/web/.env:
Step 9: Database Migration
Set up your database tables using Prisma (database toolkit).9.1 Run Database Setup
What these commands do:
prisma generate: Creates the database client codeprisma migrate dev: Creates and applies database migrationsprisma db push: Ensures all schema changes are applied
Step 10: Launch Your App! 🚀
10.1 Start All Services
Since this is a turborepo project, you can start all services with a single command:- Backend Server on port 3000
- Frontend App on port 3001
- CMS on port 3003
Turborepo Magic: The
bun dev command runs all three services in parallel automatically. You’ll see logs from all services in one terminal window.10.2 Alternative: Individual Services
If you prefer to run services separately (for debugging or development), you can use individual terminals:10.3 Access Your Apps
- Frontend: http://localhost:3001
- Backend API: http://localhost:3000
- CMS: http://localhost:3003
Environment Variables Summary
Here’s a complete overview of all the environment variables you should have configured:Troubleshooting
Common Issues
🔥 “Database connection failed”- Double-check your Supabase connection strings
- Ensure your database is running
- Verify you copied the correct pooler URLs
- Make sure your Google OAuth URLs are correct
- Check that your BETTER_AUTH_SECRET is properly set
- Verify Google+ API is enabled
- Ensure you’re in Stripe test mode
- Check that your webhook endpoint is correct
- Verify your product price ID is accurate
- Kill existing processes:
lsof -ti:3000 | xargs kill -9 - Or use different ports in your environment variables
Getting Help
- Documentation: Check the individual service docs
- Community: Join our Discord for support
- Issues: Report bugs on GitHub
Next Steps
🎉 Congratulations! Your BetterBoilerplate is now running. Here’s what you can do next:- Customize the frontend - Edit components in
apps/web/src/components - Add API endpoints - Create new routes in
apps/server/src/routes - Configure CMS - Add content types in
apps/cms/src/collections - Set up production - Deploy to Vercel, Railway, or your preferred platform
- Add features - Extend with additional integrations and functionality